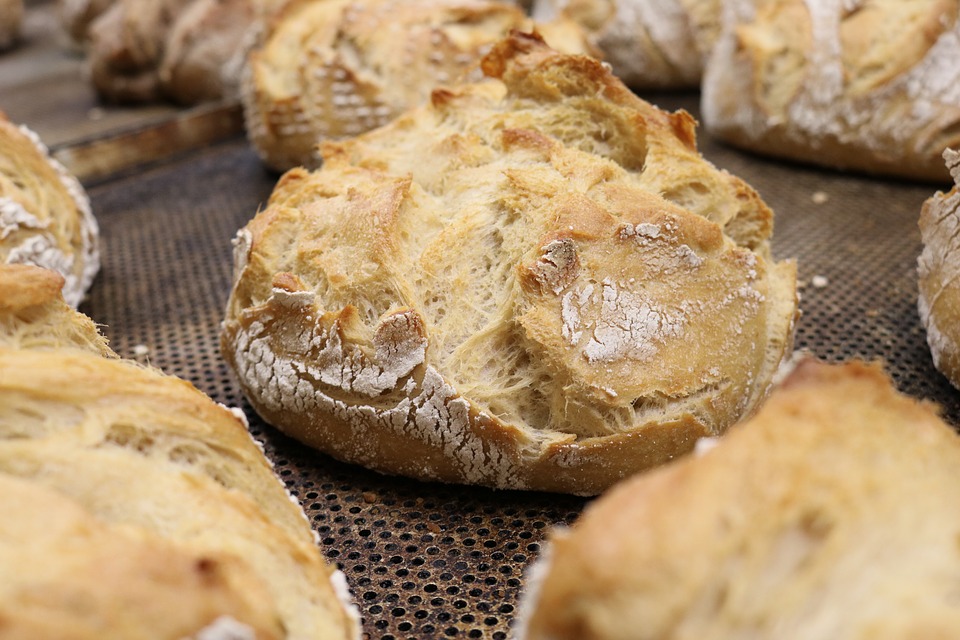
If we had to list our favorite types of bread, sourdough would be in the top three. It’s got that yummy tang that really makes it stand out. You can dunk it in thick and flavorful soups, pair it with your favorite spreads, or slather on some rich and creamy French butter.
Bread this special means there’s a bit of the extraordinary when it comes to baking it.
When it comes to baking sourdough bread, the magic ingredient is your sourdough starter. You can make your own that will last for tons of awesome tasting loaves to come.
Here’s how to grow your own sourdough starter:
#1 Prepare Your Tools & Ingredients
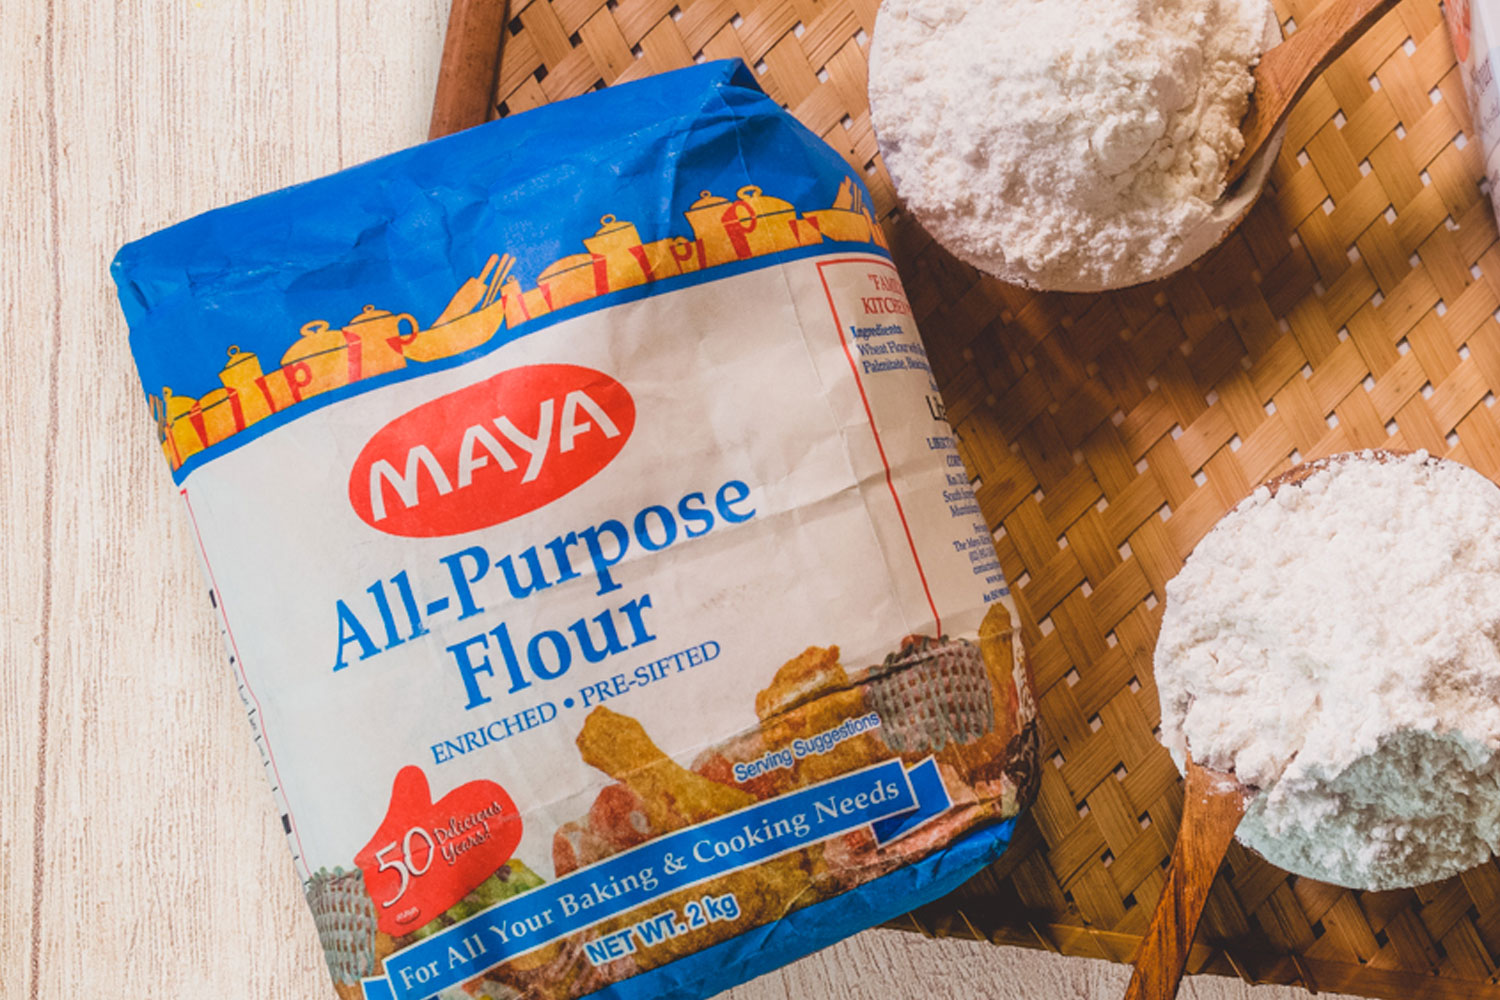
You’ll need clean, chlorine-free water and Maya All-purpose Flour. Filtered tap water will do just fine, but chlorine will inhibit your yeast from growing.
Set aside a large glass jar that can hold up to two liters. Make sure its clean by sterilizing it in boiling water, or just give it a good wash with soap and hot water.
Choose a warm area to put your jar. The temperature should range between 21.1 to 26.6 degrees Celsius.
Use a cheese cloth, paper towel, dish cloth, or even a coffee filter to cover your jar. Then seal it in place with a rubber band.
#2 Mix It Up
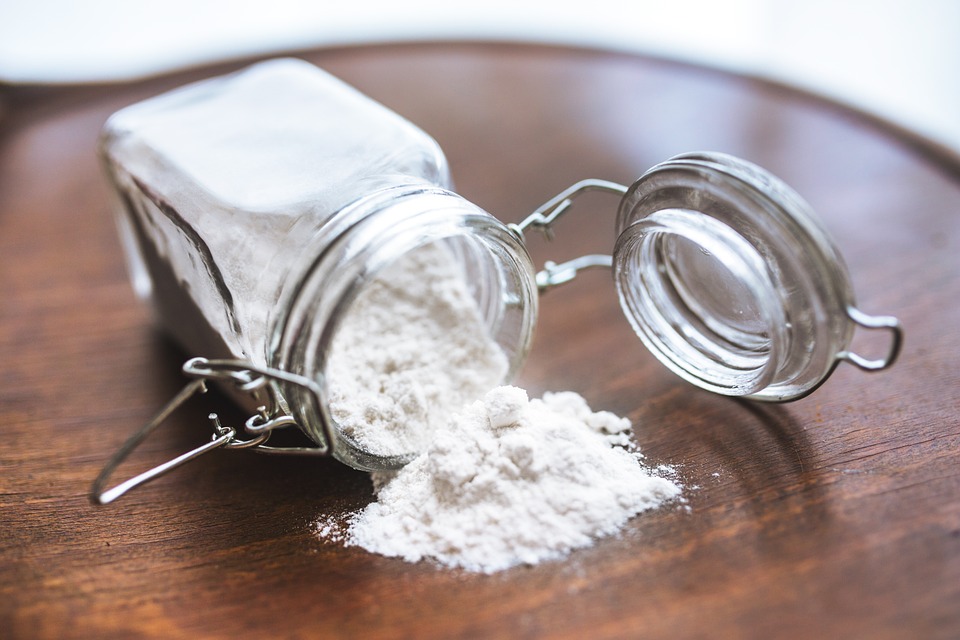
Combine ¾ cups flour and half a cup of chlorine-free water. Take a plastic or wooden spoon (no metals please) and give the mixture a good stir to work some air into it.
Cover your jar with your makeshift lid and secure it with a rubber band. Leave it in the designated “warm area.”
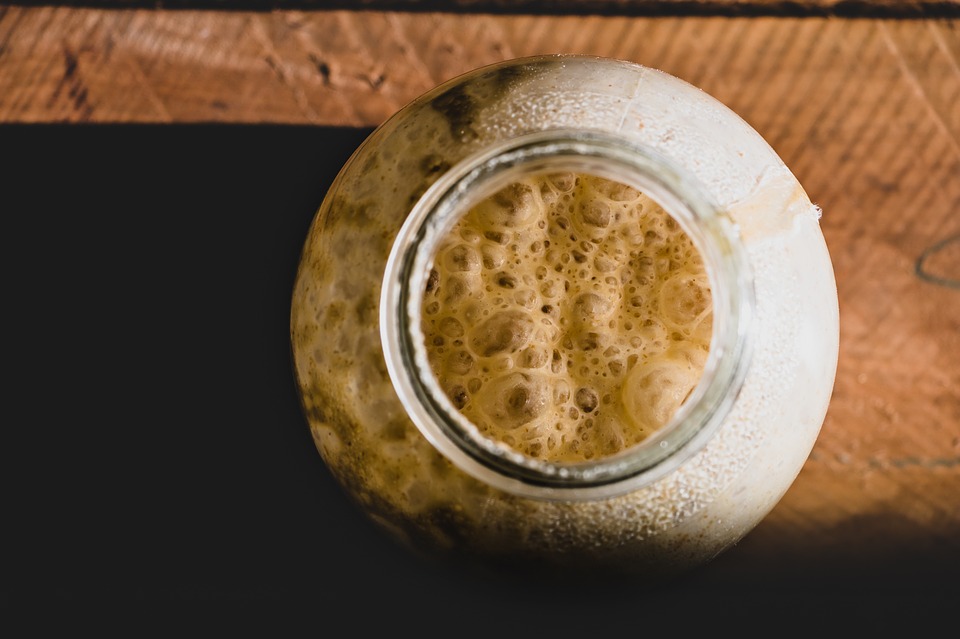
#3 Check for the Tell-tale Bubbles
Check on your mixture after 12 hours. If bubbles have started to form, that means the yeast is growing, and that’s a good thing! If not, wait another 12 hours, then add 3/4 cups flour and half a cup of warm water. Give it a hard, long stir, cover the jar, and wait for another 12 to 24 hours.
#4 Keep on Feeding Your Friend
The next time you feed it, remove half the starter before adding warm water and flour. Repeat this process for up to seven days. By this time, it should be ready to use for making that fantastic sourdough recipe you’ve had your eye on.
One way to tell if it’s ready to use is if your starter has doubled in size. Another way is to drop a bit of it in a cup of water. If it sinks, then wait a bit more.
#4 Maintenance
Some starters have been passed down from one generation to the next like a true baking tradition. That’s amazing!
After 10 days, you can pop your yeast buddy in the refrigerator and feed it once a week.
Let us know how this sourdough starter process worked for you. Or, if you have any ideas you want to share with sourdough lovers out there, leave a comment below.