There are many factors to consider when baking, and from our experience, preparation is key. Baking is a science that requires precision every step of the way, leading you closer to the delicious outcome. And to make sure you get the best results every time, we’ve prepared a NewGen Baker Recipe Success Guide for newbies and experienced bakers alike.
Before diving straight into the baking process, take time to make sure you’re fully prepared. The following checklist is the most important aspect of our recipe success guide.
- Read the Recipe from Start to Finish
It’s essential to have a good grasp of the recipe before you start baking. This includes knowing what ingredients you need, what baking tools to have on-hand, and what baking methods to employ. If you’re not familiar with something, a quick search on Google or YouTube can go a long way, particularly for video demonstrations of more challenging techniques. But nothing beats asking Mom or Lola to share their knowledge!
- Gather Your Ingredients

Unless you’ve reached a level of baking where you’ve built up enough experience to experiment, stick to the ingredients.
Take note of the following baking ingredient standards:
- Use large eggs
- Granulated white sugar is preferred
- Use table or iodized salt (although some recipes require rock or kosher salt)
- Brown sugar is not to be confused with raw sugar; brown sugar is used for the molasses content
- Use unsalted butter unless the recipe says otherwise
- Take note if the recipe calls for whole, low fat, or non fat milk. Some recipes also call for condensed or evaporated milk (which Filipinos refer to as evaporada)
- Vanilla (check if the recipe calls for extract or actual vanilla beans)
Of course, sometimes getting exactly what you need can be challenging. Thankfully, you can substitute certain ingredients, although they may affect the taste or consistency of your baked good. Check out our previous post on substitutes for more information.
Tip: If you want to make your baking healthier by lessening the amount of sugar, try these natural substitutes.
- Prepare Your Baking Utensils
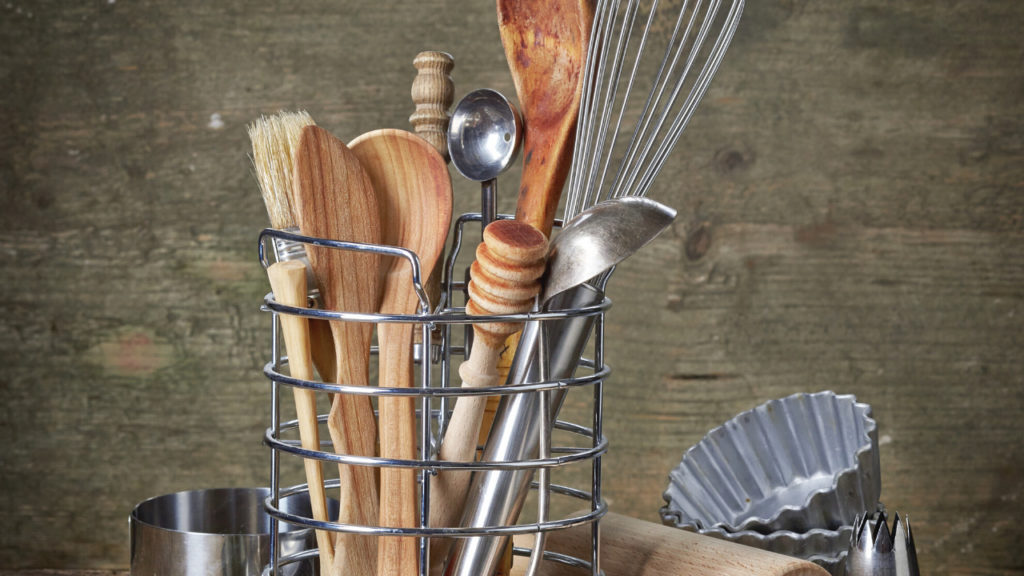
There are so many different utensils out there depending on what you’re baking. Besides the requisite oven, here’s a list of essential baking tools you need regardless of what you’re making:
- Dry Ingredient Measuring Cups – a set of metal or rubber cups in units of 1 cup, ½ cup, 1/3 cup, and ¼ cup (used to measure ingredients like flour or sugar)
- Wet Ingredient Measuring Cup – usually made from glass with a spout for pouring with a 2-cup capacity. A good measuring cup has both ml metric) and oz (imperial) conversions
- Measuring Spoons – a set of metal or rubber spoons in units of 1 tablespoon, ½ tablespoon, 1 teaspoon, ½ teaspoon, ¼ teaspoon, and 1/8 teaspoon. Choose a set that has all these to avoid any mathematical guesswork.
- Rubber Spatula – used to scrape sticky dough or jam from bowls or jars
- Wooden Spoon – nothing beats this for stirring things the right way
- Wire Whisk – the best tool for combining dry ingredients
- Rolling Pin – for rolling out puff pastry or dough; also handy for cracking ingredients or pounding things flat (like chicken breast)
- Strainer (also known as a sieve) – removes clumps from dry ingredients and turns them into fine powder
- Quality Knife – a dull knife is a safety hazard; used carefully, this is your all-around kitchen helper for slicing away
- Paring Knife – fruit is often used in baking recipes; choose one that can also remove the cores
- Baking Pans – these come in a variety of sizes where your dough or batter is baked to perfection
- Wire Rack – ensures your goodies are baked evenly, exposing them to hot air circulating in your oven; it’s also a great place for cooling them once they’re done
- Pastry Brush – for greasing your pans or brushing your dough with egg wash
- Prepare Your Baking Pan/s
Always use the correct baking pan size as stated in the recipe. If you need to grease your pan, do it with shortening and not margarine or butter, which burn easily.
Here are some types of pans you should have in your kitchen:
- Pie Pans
- Baking Sheets
- Round Pans for Cake
- Loaf Pans
- Bundt Pans
- Rectangular Pans
These come in a variety of sizes, so know your oven capacity and choose accordingly.
- Measure Your Ingredients Properly

Measuring your ingredients properly is very important, and there’s a correct way of doing it to get the right quantity the recipe calls for. Having too little or too much can drastically alter the taste and texture of your baked goods.
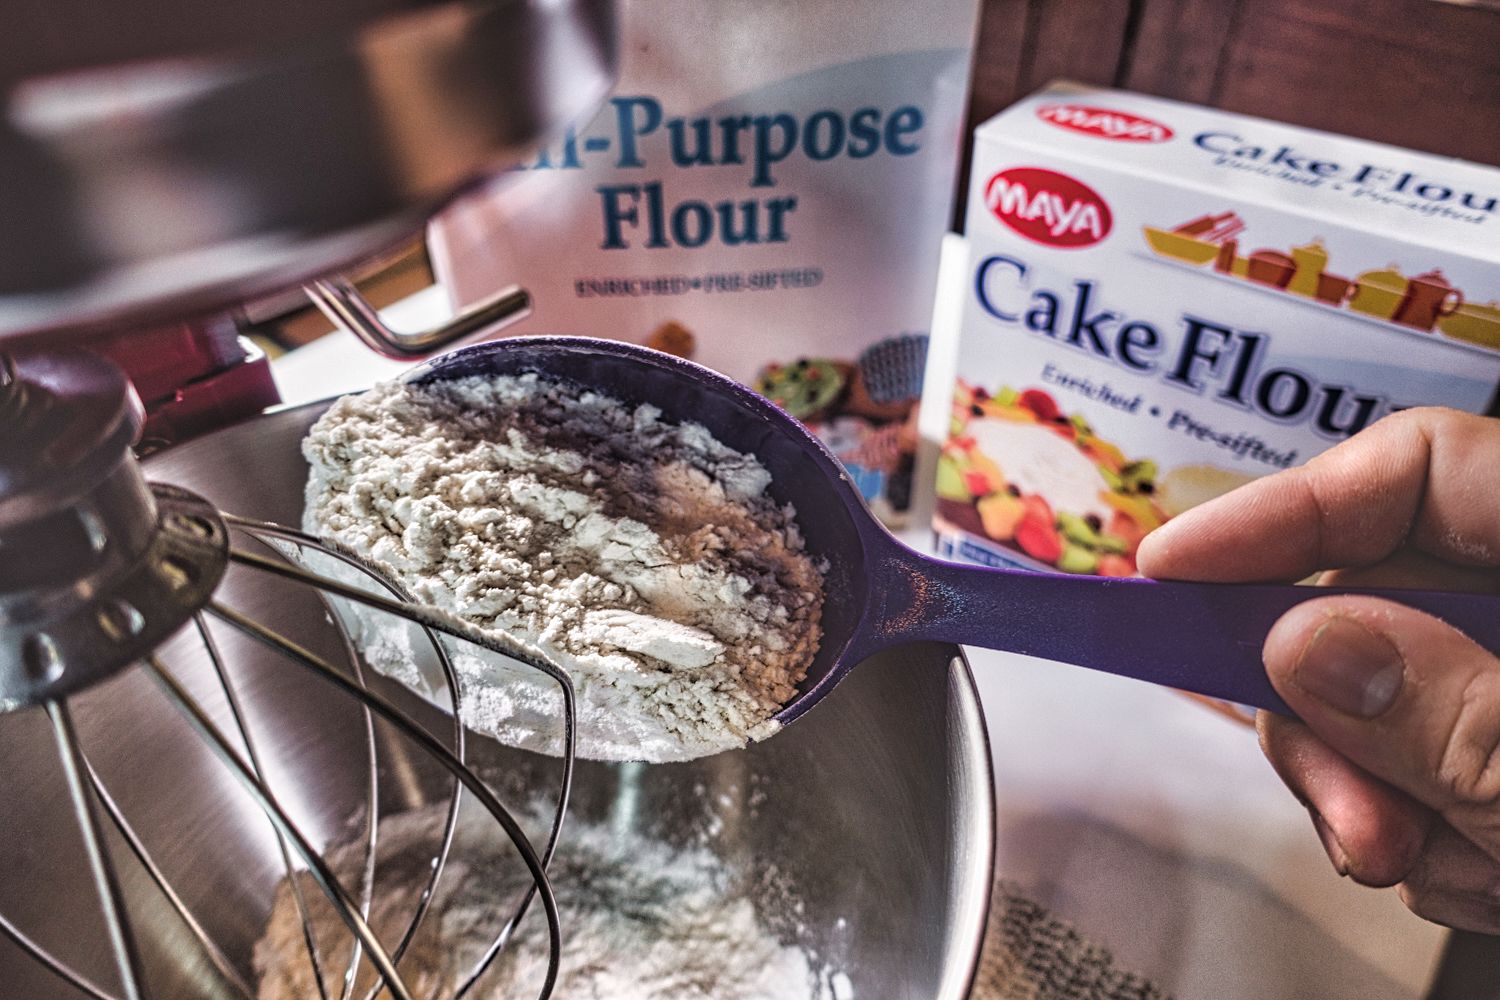
How to Measure Dry Ingredients
The cups used for measuring dry ingredients are nested to hold the content adequately. For flour or sugar, use the measuring cup to scoop it from the bag, then level it off with a spatula.
This is not the case for brown sugar, which needs to be firmly packed into the cup. One way to test is to invert the cup onto a surface. If the sugar holds its shape, you did it right.
Cake flour and confectioner’s sugar are measured differently. You have to spoon them into the cups and then level it off.
Small quantities of dry ingredients like salt are measured using spoons. Simply dip them into the bags.
How to Measure Wet Ingredients
Measuring wet ingredients is relatively simpler. There’s no need to level off anything. Shortening, for instance, is packed firmly into the cup to prevent any pockets of air.
Make sure to place the measuring cup on a flat surface and read the measurements at eye level for accuracy.
Here’s a tip: when it comes to butter, one stick of 250 g is a little over 1 cup of butter (1 1/8 cups).
- Treat the Batter and Dough Appropriately

Don’t overmix or undermix. Follow the recipe carefully. Once done, fill your pan up to 2/3 full to give ample allowance for the dough or batter to rise.
If you noticed, we didn’t include a hand or stand mixer in our essentials list since these innovations didn’t exist until the mid-1960s. However, they do make things a lot easier, and are a must in any pro baker’s kitchen. If you want to lessen the strain on your hands, then invest in either.
Mixing means you are “blending” certain ingredients together. On the other hand, “beating” means you are adding air into the mixture to achieve a smooth consistency. Think egg whites.
Kneading is an important baking technique, especially when it comes to breadmaking. The way you handle your dough is important in creating and developing the gluten, which in turn creates a light and tasty loaf.
Simply dust a clean surface with flour, place your dough on top of it, and begin punching the dough with the heel of your hand with a forward motion until it achieves a springy consistency. Then, fold the dough in half and use the heels of your hands to spread it forward. Remember to knead for the duration the recipe tells you. Also, check to make sure the consistency of the dough is what the recipe calls for.
- Use Your Oven Wisely
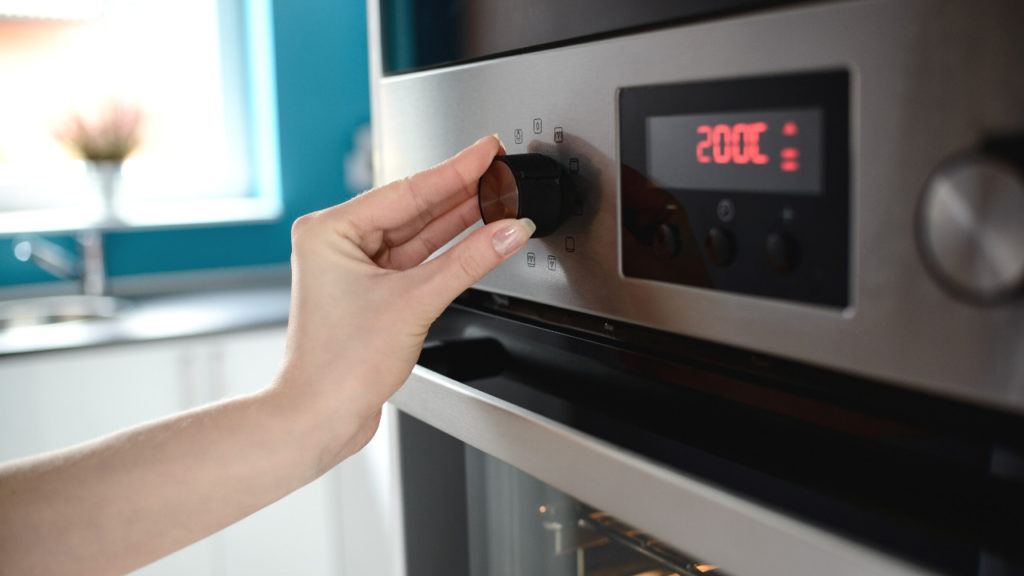
Preheating your oven is a simple but often overlooked step. Neglecting to do so can result in melted instead of cooked dough. Also, your goodies won’t rise like they’re supposed to and will take longer to cook than they should. When it comes to preheating, follow the temperature in your recipe. We promise it will save you a lot of time and effort.
Make sure to place your pan on the center of the rack. However, if your oven has hot spots, you need to identify them and position your pans accordingly. One way to test for spots without breaking the bank is to place slices of bread on a baking sheet and toast them in your oven. You’ll be able to tell what parts of your oven are hotter by the scorch marks on the bread.
For more oven information, read our post on Oven Tips and Tricks.
- Test for Doneness
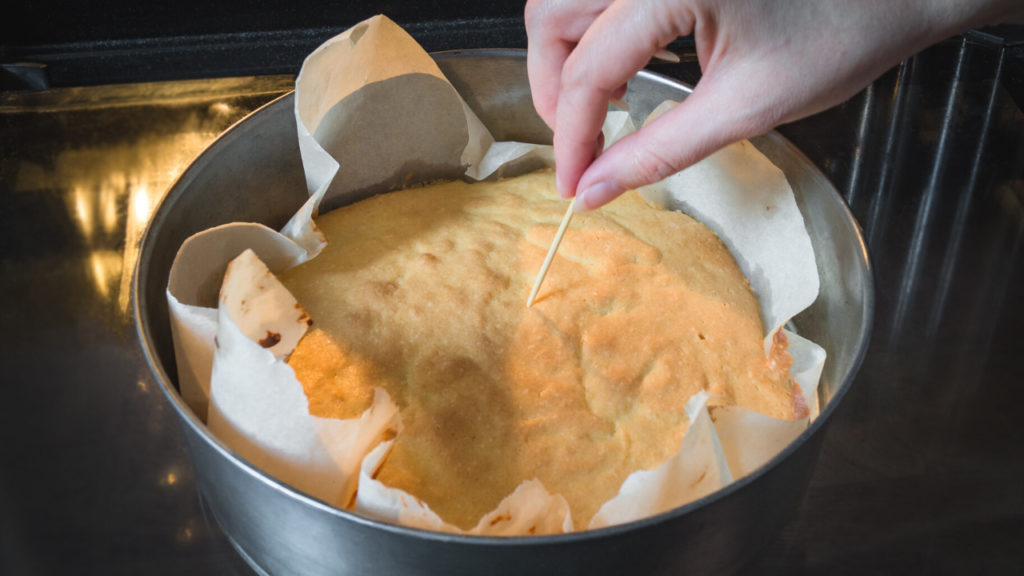
To test whether cookies or a butter cake are done baking, stick a toothpick into the center. If it comes out clean, you’re good to go. For sponge and chiffon cakes, simply use your fingers to lightly press the top of the cake. If it springs back, it’s done. For bread, if you don’t have a thermometer, take the bread out of the oven, and turn it over. Tap it with your fingers and if it gives out a hollow sound, your bread is ready!
- Cool Your Baked Goods
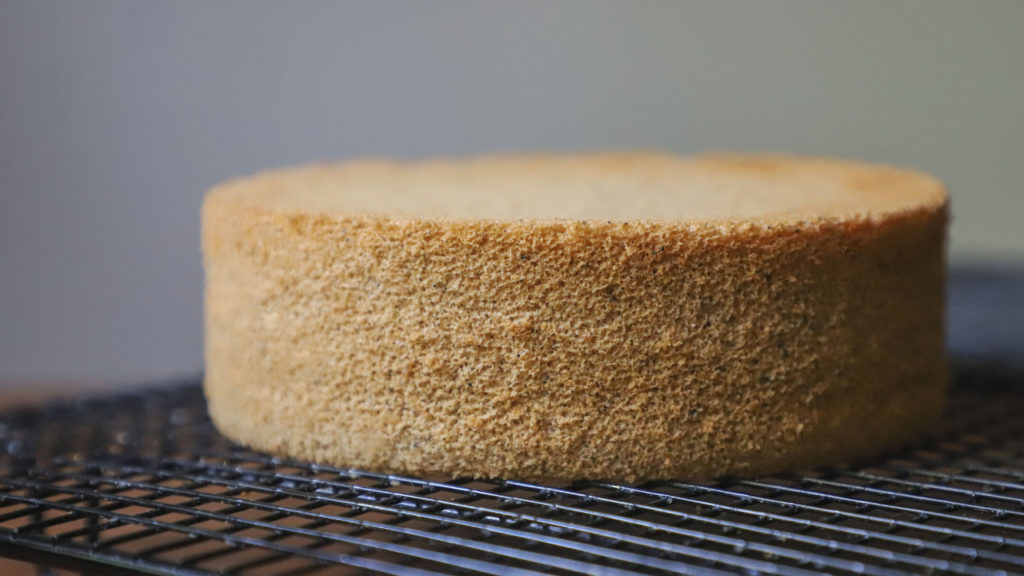
If you baked butter cake, pull it out of the oven and leave it to cool for about 10 minutes. Then, invert the pan onto the wire rack. For bread, sponge, and chiffon cakes, invert the pans immediately and then leave to cool.
We hope this recipe success guide helps you create fabulous baked creations. Share this post if it was useful. Or, if you have more tips to share with other readers, leave a comment below!