We’re going to cover a few more essentials that are a little more advanced to take the guesswork out of baking. And for more basic baking how-tos for teens, check out this article. Just remember, when in doubt, you can always ask your parents for help.
#1 How to Brown Butter
Browning butter can make your dish extra amazing with its rich and nutty flavor.
This technique can be tricky because you have to be extra careful that you don’t burn the butter, which can ruin the taste of your baked goods. There is a fine line between scorched and browned.
Put some butter in a skillet and cook it over medium heat. Don’t use a black-bottomed pan so you can see the color of the butter as it cooks. Swirl the butter around the pan to cook it evenly.
First, you’ll see the butter foam and go from bright yellow to tan to a light brown. Then, when it starts to smell nutty, take it off the heat and strain it to remove the burnt sediment. Voila! Now you have some brown butter to use for your baking.
#2 Melting White Chocolate
White chocolate is more difficult than melting the milk or dark variety. That’s because it has a lower melting point and is made up of slightly different ingredients. If you proceed the way you would with regular chocolate, chances are you’ll have a lumpy burnt mess. So melt smart!
Though some people swear by a microwave, we recommend you go with the double boiler unless you’re pressed for time. Now if you don’t have a double boiler at home, there are ways to fake it by using two pots of different sizes. In this case, YouTube is your friend, and a little help from a grown up won’t hurt either.
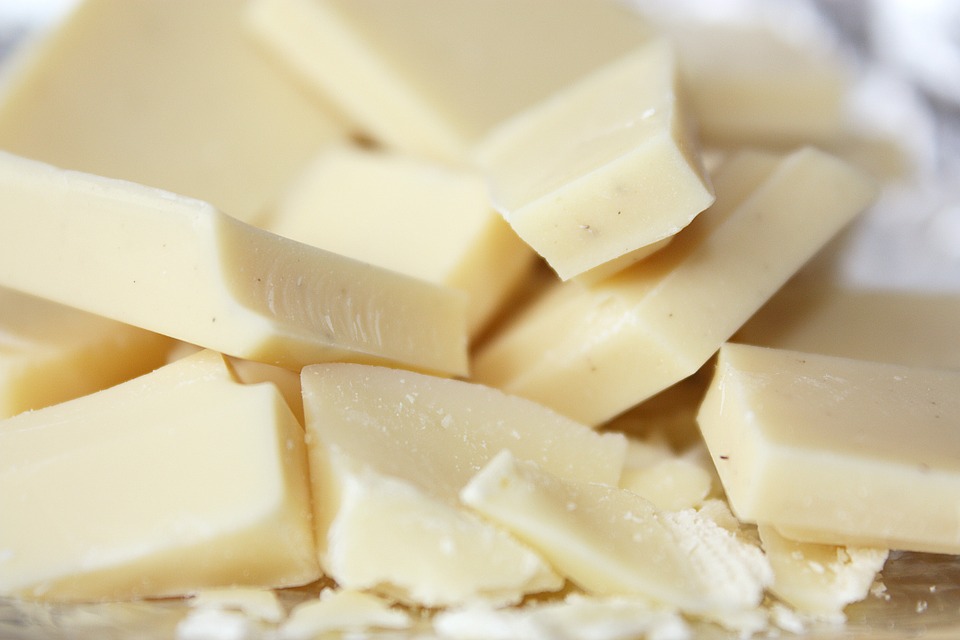
Break the white chocolate into small pieces so it melts more evenly. Fill the lower portion with water and bring it to a light boil separately over medium-high heat. Once that’s done, place the top part of the boiler with the chocolate inside, making sure that the bottom portion does not touch its base.
Don’t cover the top portion while cooking because the steam will make your chocolate lumpy.
When just a few lumps are left, take it off the heat making sure that no steam from the bottom portion of the boiler gets into the mixture. Place it on a heat-resistant surface and continue stirring until it’s smooth and lump-free.
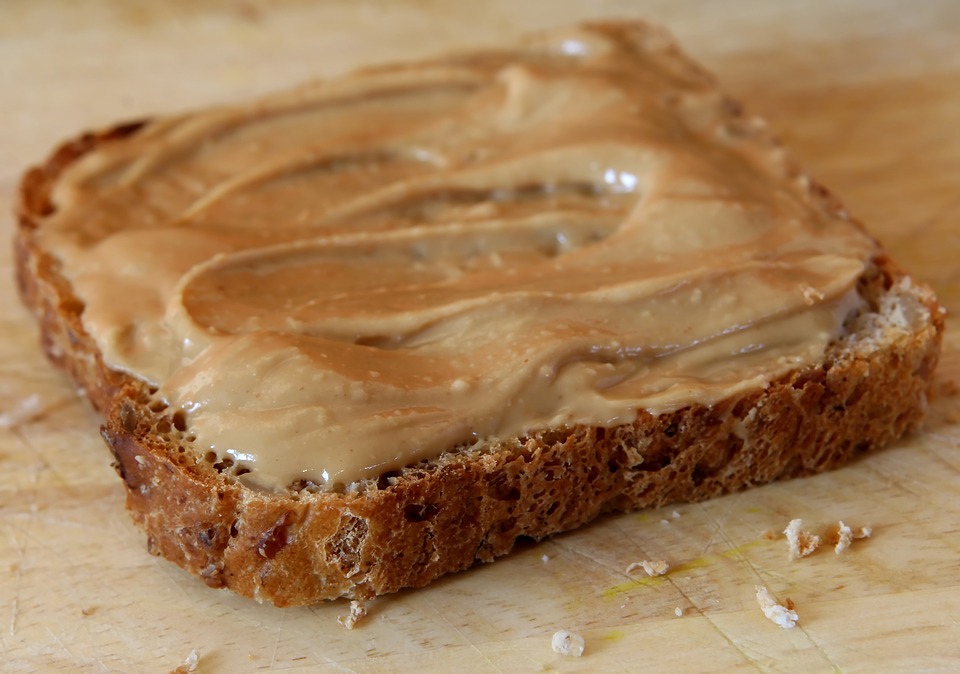
#3 How to Rub Flour and Butter
This is especially important for recipes that call for a shortcrust pastry, crumble, or scone. This is generally referred to as “rubbing in,” and as a teen baking wonder, you’re going to encounter it sooner or later.

First, make sure the butter is firm by placing it in the fridge. When it’s firm, take it out and cut it into cubes. Add the butter to the flour (not the other way around), and use the tips of your fingers to rub the flour and butter together. Don’t rub too close to the mixture or you’ll end up warming it. The butter is supposed to stay cool and not melt. Do this until the mixture has the consistency of breadcrumbs.
Practice makes perfect, friends, so keep calm and bake on.